How to Paint a Kitchen in Singapore
If you’ve been thinking about how to paint a kitchen in Singapore, you’re in for an exciting project! Painting a kitchen is not simply as easy as picking a new color for the room; it is about creating an area that is hygienically clean, resistant to dampness, and suitable for Singapore’s tropical climate.
Whether beginning a painting project on an existing kitchen or starting painting on a new kitchen from scratch, the right techniques matter a lot. This guide will take you through every step, from preparation to final touches, with practical tips to ensure a professional-quality finish. By the end, you’ll understand how to make your kitchen both beautiful and efficient.
Why Kitchen Painting in Singapore is Unique
Painting a kitchen in Singapore is not the same as painting other areas of your home. The importance of paint a kitchen lies in addressing the unique challenges posed by Singapore’s humid climate, the frequent use of oil-based cooking, and the constant exposure to moisture.
This is why it is important to select the right materials and prepare the surface correctly in order to get a long-lasting, mold repellent, and attractive wall finish. Also, LS Painting Services Singapore offers the best residential painting, house painting, and commercial painting services in Singapore.
Step-by-Step Process to Paint a Kitchen in Singapore
1. Prep Work: The Backbone of a Perfect Finish
Before you even think about opening that paint can, preparation is key.
- Clear and Protect: Remove appliances, utensils, and anything that might get in the way. Cover floors, countertops, and cabinets with plastic sheets or drop cloths.
- Deep Clean: Kitchens in Singapore often accumulate grease and humidity-driven grime. Use a degreaser to scrub walls, especially near the stove and sink. Rinse thoroughly and let the surfaces dry completely.
- Repair the Surface: Fill cracks, holes, or chips with spackling paste and sand them smooth. A level surface is critical for a polished finish.
- Tape the Edges: Apply painter’s tape around cabinets, electrical outlets, and trims to achieve clean, crisp lines.

2. Choosing the Right Paint for Singapore Kitchens
The importance of paint selection cannot be overstated when figuring out how to paint a kitchen in Singapore.
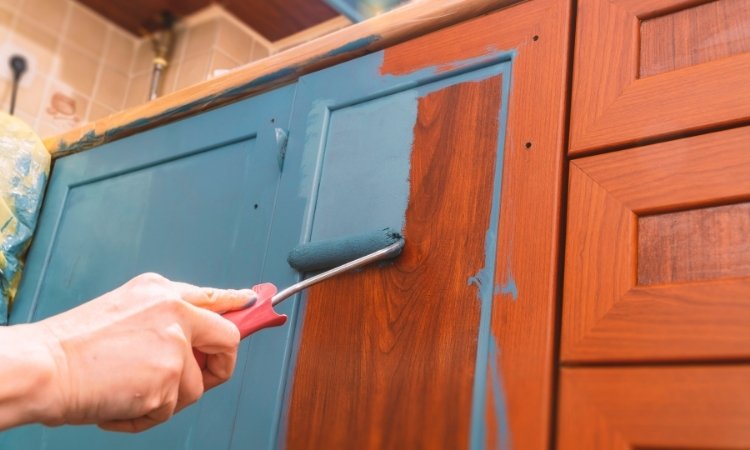
- Durable Finishes: Opt for semi-gloss or satin paint, as these are easy to clean and resistant to moisture. They’re perfect for areas prone to splashes and spills.
- Mold-Resistant Paint: Singapore’s humidity can lead to mold growth. Mold-resistant paint will help to enhance the longevity of the paint.
- Color Considerations: Neutral colors are appropriate for small kitchens since they make the space look larger. If you’re feeling bold, brightly colored accent walls bring character into the room.
3. Priming the Walls: The Secret Step Most Skip
Primers act as a base coat before the actual painting process, and they need to be done perfectly for a durable and flawless paint job.
- Use a stain-blocking primer to seal grease stains and provide a smooth base for your paint.
- Roll the primer when applying in areas with large coverage while brushing on the edges.
- It is advisable to let it dry for some time before applying the main coat of paint.
Why is this so important? It enhances the bond between the paint and the surface on which it is applied, especially in areas where there is high humidity such as the kitchen.
4. How to Paint a Kitchen Like a Pro
-
Cutting In
Start with an angled brush to paint edges and corners. This ensures precision in areas where rollers can’t reach.
-
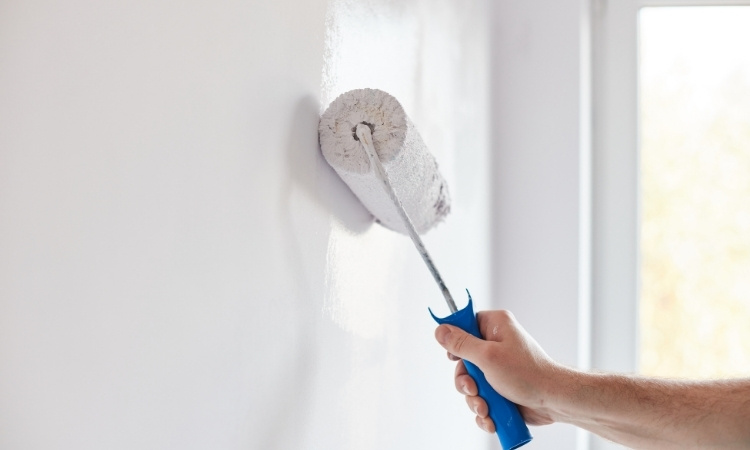
Rolling the Walls
When painting large areas, a medium-sized roller should be used. Apply the paint in overlapping “W” patterns for even coverage. Avoid overloading the roller; thin, even coats work best.
-
Second Coat
After the first coat is applied, let the surface dry for 4-6 hours and add a second coat. This step also helps to ensure durability and achieve an even and rich color.

5. Finishing Up: The Final Touches
After completing your kitchen painting project, focus on cleanup and minor adjustments:
- It is recommended that the painter’s tape should be removed carefully when the paint is wet but not sticky.
- Check whether there are any parts of the walls left untouched or smeared irregularly and fix them if possible.
- Let the paint dry and cure for at least one whole day before placing any item back in the kitchen.
Conclusion: Painting Your Kitchen the Right Way
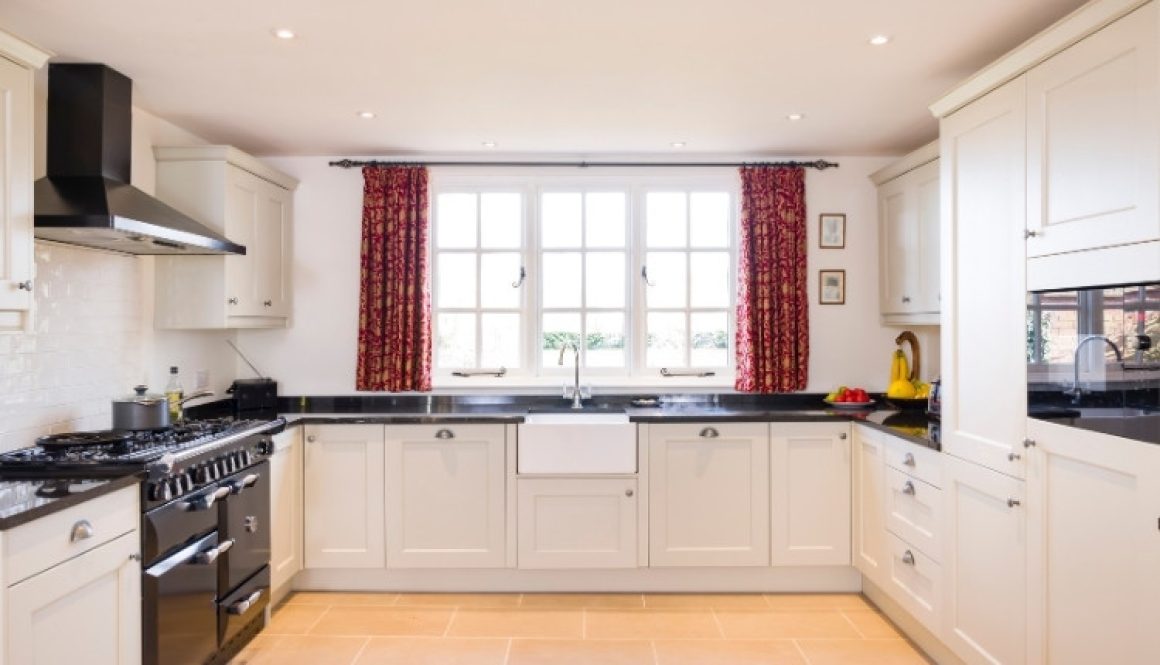
Painting a kitchen is more than just a task—it’s an opportunity to personalize your space. Whether you want to renovate your kitchen or just keep it in optimum condition, knowing how to paint a kitchen in Singapore is the best way to make sure that your area is ready to face the rigors of everyday use.
The process may require time and patience, but the results—a stunning kitchen designed to handle Singapore’s climate—are worth every effort. Painting a kitchen is about more than just aesthetics. It’s about making your home comfortable and suitable for your family to spend time in for many happy years. Your dream kitchen is just a few brushstrokes away!


